
3D embroidery tools open up a world of texture and depth, turning flat designs into tactile art and inviting you to experiment with layers, padding, and stitched outlines that bring your motifs to life. To maximize results, start with a capable 3D embroidery machine and a smart selection of stabilizers for 3D embroidery, since firm support and controlled stretch are essential when building dimensional layers over foam inserts. Choose threads for embroidery with a spectrum of weights and finishes, pairing smooth satins with sturdy cotton blends to reproduce shading and texture, while mindful tension helps prevent puckering as layers pile up. Foam for embroidery offers the lift that makes raised stitches pop, and felt for embroidery can provide a soft backing that adds structure without overwhelming the design. With the right combination of tools, you’ll enjoy cleaner stitches, fewer skipped passes, and more consistent results across projects, from patches to decorative ensembles.
Beyond the brand name, dimensional stitching supplies and equipment empower crafters to turn flat layouts into tactile, gallery-worthy pieces with depth, texture, and lasting durability. Think of it as a creative system where the capabilities of the machine, the choice of padding, and the stability materials combine to shape how a motif reads at a glance and wears over time. LSI-friendly terms like three-dimensional embroidery equipment, layered applique, and foam-backed techniques help you find practical guidance without relying on a single keyword. As you browse tutorials and product pages, look for mentions of stabilizers, foam, and thread management strategies that translate into smoother operation and richer textural contrast.
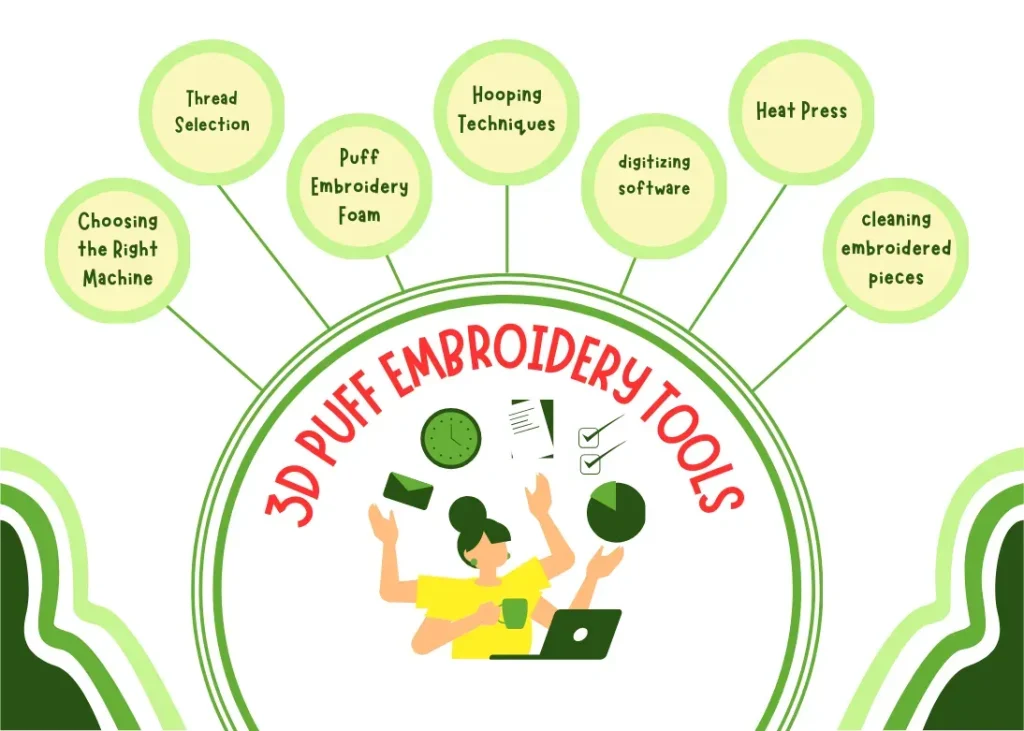
Choosing the Right 3D embroidery tools to Elevate Texture and Depth
Entering the realm of dimensional design begins with assembling a thoughtful toolkit. With the right 3D embroidery tools, you’ll unlock depth, tactile texture, and durable finishes in projects ranging from layered patches to decorative ornaments. Prioritize a kit that covers the essentials—3D embroidery tools, a compatible 3D embroidery machine, stable stabilizers for 3D embroidery, versatile threads for embroidery, and padding options like foam for embroidery or felt for embroidery to shape the lift you want.
As you select tools, consider how each component interacts with the others. A capable 3D embroidery machine will handle denser stitches around foam or padding, while suitable stabilizers help prevent warping across multi-layer pieces. Pair these with the right threads for embroidery in appropriate weights and finishes, and your projects will achieve cleaner stitches, richer color depth, and more reliable layering from start to finish.
How a 3D embroidery machine Supports Layered Designs
The 3D embroidery machine is the engine behind dimensional craft. Look for multi-needle capability, robust feed, and features that support thick threads and layered fabrics. Machines that accommodate floating stiches around foam or foam-like padding can expand your design possibilities, allowing you to build up layers without sacrificing control.
A well-chosen 3D embroidery machine pairs with compatible stabilizers and padding materials to maintain tension and accuracy. Whether you’re stitching through foam for a raised center or building multiple textile layers, ensure your machine works smoothly with a range of threads for embroidery, from lighter outlines to heavy fills, so your depth remains consistent across projects.
Stabilizers for 3D Embroidery: Foundations that Maintain Form
Stabilizers are the structural backbone of 3D embroidery. Selecting a mix of tear-away, cut-away, and wash-away stabilizers creates a stable foundation that supports raised layers and complex textures. For foam inserts, consider using a soluble stabilizer around the pad to prevent compression of the padding during stitching.
The right stabilizers for 3D embroidery help maintain alignment and prevent distortion as you add dimensional elements. In practice, a light tear-away under delicate tops, paired with a cut-away for denser fills, can keep layers crisp. Finish with a wash-away stabilizer if you want clean edges around elevated areas, ensuring the foam or felt layers remain prominent.
Threads for Embroidery: Building Texture with Weight and Finish
Thread choice defines the tactile and visual depth of your 3D designs. Consider polyester for durability and colorfastness, or rayon for a luxurious sheen. Have a range of weights to accommodate different layers—from fine outlines to bold, solid fills—and experiment with metallic threads for edge highlights while applying proper stabilizing to prevent pulls.
Color depth and texture emerge from thoughtful thread planning. Variegated or gradient threads can add subtle shifts that enhance dimensionality without overpowering raised areas. When weaving thick layers, balance thread weight with stabilizers and foam if used, so the texture remains plush rather than rigid.
Foam for Embroidery and Felt: Padding as the Secret to Dimension
Padding materials like foam for embroidery and felt for embroidery are central to creating the signature lift of dimensional work. Puffy or shimming foam can elevate stitched elements, while thin felt sheets provide backing that supports and softens layered pieces. Keep compatible heat-resistant adhesives and temporary sprays on hand to position foam or felt securely during the stitching process.
Choosing the right foam thickness and felt backing depends on your design goals. Thicker foam yields dramatic elevation, but you may need lighter density threads to avoid stiffness. Testing small samples helps you gauge how the foam interacts with stitch density and fabric, ensuring the final piece maintains flexibility and character.
Finishing, Maintenance, and Accessory Essentials for 3D Embroidery Tools
After stitching, finishing tools help you trim, remove stabilizers, and press without flattening the raised elements. Use needle-nose pliers and tweezers to tidy thread tails, and a pressing cloth to preserve texture. Regular maintenance—cleaning lint from machines, oiling moving parts, and storing components in SM-safe containers—keeps your 3D embroidery tools reliable over time.
An organized toolkit also includes accessories that simplify complex projects, such as templates or grid rulers for precise alignment across layers, and transfer aids like washable markers or water-soluble pens. By maintaining your tools and keeping a balanced stock of foam for embroidery, felt for embroidery, and compatible stabilizers for 3D embroidery, you’ll extend tool life and improve consistency across every dimensional design.
Frequently Asked Questions
What are the essential 3D embroidery tools to start a project?
Starting with 3D embroidery tools means selecting the right combo: a capable 3D embroidery machine or multi-needle home machine, stabilizers for 3D embroidery suited to your fabrics, and foam for embroidery padding. Add a selection of threads for embroidery in varied weights and finishes, plus needles and basic finishing tools. This foundation helps you achieve clean stitches, reliable depth, and durable results.
How does a 3D embroidery machine handle foam for embroidery when creating height?
Choose a 3D embroidery machine that supports denser stitches and larger hoops to accommodate foam for embroidery. The right machine, combined with proper foam padding and stable basing, helps your layered designs stand up and keep their height without warping.
Which stabilizers for 3D embroidery work best when layering fabric and foam?
Use a mix: tear-away stabilizers for delicate layers, cut-away for sturdier fabrics, and wash-away or water-soluble stabilizers around foam inserts. This stabilizer strategy preserves depth and prevents compression around raised areas.
What should you consider when choosing threads for embroidery to achieve 3D depth?
Select threads for embroidery with weight variation: lighter weights for outlines, heavier weights for fills, and consider polyester for durability and colorfastness or rayon for a satin sheen. Metallic threads can highlight edges but require careful tension and stabilizing to preserve the 3D effect.
What role does foam for embroidery play in creating 3D effects, and how should you apply it?
Foam for embroidery provides the lift that makes stitches pop. Choose foam padding of appropriate thickness, position between layers with a compatible fabric backing, and use appropriate spray adhesive or temporary glue to hold the foam in place during stitching. Test first to avoid compression.
Is felt for embroidery a good option in 3D projects, and how does it compare to foam?
Felt for embroidery can serve as backing or layered padding, offering a quick way to add dimension. Compared with foam, felt is denser and less compressible, which can affect flexibility. Use felt sparingly for accents, or combine with foam to maintain dimension without stiffening the design.
| Aspect | Key Points |
|---|---|
| Introduction to 3D embroidery tools | Tools are a practical guide to achieving depth, texture, and durability; a well‑chosen kit reduces frustration, yields cleaner stitches, and supports a smoother workflow when turning flat designs into tactile motifs and layered appliqués. |
| Core Tools | A complete set includes: Embroidery machine (preferably multi‑needle or capable of dense, layered stitches); Hoops/frames for stability; Stabilizers (tear‑away, cut‑away, wash‑away); Threads (polyester, rayon; various weights; metallics with caution); Foam, padding, and felt; Needles, scissors, precision tools; Transferring/measurement tools; Finishing and maintenance tools. |
| Materials & Techniques for Depth | Depth comes from layering fabrics and padding; foam padding or felt creates lift; choose materials to support raised stitches; balance materials to avoid stiffness; stable setup enables clean results. |
| Layering & Depth Management | Start with a stable base, add foam/padding between layers, anchor with light stitches; maintain tension; avoid over‑compression; test on scraps to dial in density and thickness; ensure alignment. |
| Practical Tips & Common Mistakes | Test first on scrap; avoid overloading layers; align layers with templates or grid rulers; monitor stitch density; keep machine fed and fabric from shifting; finish by pressing gently and trimming. |
| Starter Projects & Ideas | Begin with simple motifs; use a foam center and outer ring; try raised borders; practice layering and stitch density on manageable designs. |
| Maintenance & Safety | Clean lint, replace worn needles, store threads away from sunlight; avoid over‑saturating padding with water; ensure adhesives cure as recommended; perform regular maintenance to extend tool life. |
Summary
Conclusion: 3D embroidery tools empower creators to add dimension, texture, and durability to fabric designs. By selecting a balanced toolkit—encompassing a capable machine, stable hoops, appropriate stabilizers, suitable threads, padding materials, precise cutting and transfer tools, and proper finishing practices—you can achieve cleaner stitches and more expressive results. As you grow your collection of 3D embroidery tools, start with the essentials and gradually expand, letting depth, layering, and consistent technique guide your projects toward richer, more durable outcomes.