
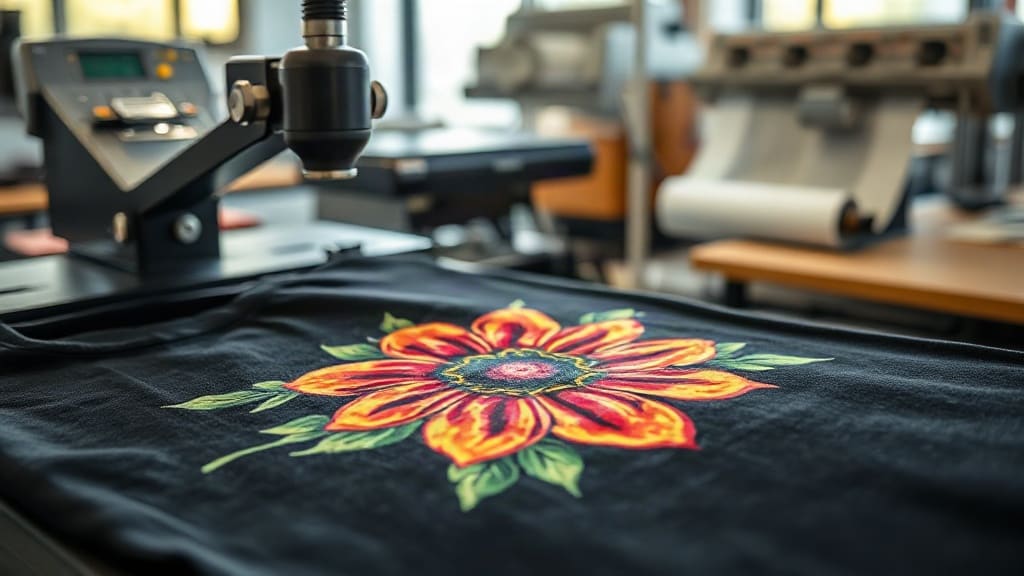
If you've been exploring custom apparel printing, you've likely heard about DTF transfers. This technology has quickly become a favorite among crafters and small business owners for its versatility and vibrant results. Unlike traditional methods, DTF transfers allow you to print full-color designs on a wide range of fabrics with minimal equipment. In this guide, I'll walk you through everything you need to know to get started, sharing insights from my own experience working with DTF in a small print shop.
What Are DTF Transfers?
DTF stands for Direct to Film. It's a printing process where your design is printed onto a special film, coated with a powder adhesive, and then heat-pressed onto the fabric. The result is a soft, stretchable print that bonds permanently to the material. Unlike DTG (Direct to Garment), which requires pretreatment and works best on cotton, DTF transfers adhere to cotton, polyester, blends, and even nylon. This makes them incredibly versatile for any project, from t-shirts to tote bags.
How DTF Transfers Differ from Other Methods
Compared to vinyl or screen printing, DTF transfers offer several advantages. You can print intricate details and gradients without multiple screens or layers. The process is also faster for small batches, and you don't need to worry about color matching or registration. Plus, the durability is impressive: with proper care, DTF prints can outlast the garment itself.
The DTF Transfer Process Step by Step
Understanding the workflow helps you avoid common pitfalls. Here's how it works:
- Design Preparation: Create your artwork in a graphics program. Remember to mirror the image horizontally before printing, as you'll be pressing it face down.
- Printing: Use a DTF printer with special inks and film. The printer lays down a layer of white ink first, followed by CMYK colors. This white base ensures opacity on dark fabrics.
- Powdering: While the ink is wet, apply a hot-melt adhesive powder evenly over the print. Shake off the excess.
- Curing: Melt the powder using a heat press or oven. This step is crucial; under-curing leads to cracks and wash-off.
- Pressing: Place the transfer on your fabric and press with a heat press at 325°F for 15-20 seconds with medium pressure. Peel the film off while it's still warm (or cold, depending on the film type).
Each step requires attention to detail, but once you dial in your settings, it becomes second nature.
Choosing the Right Materials for DTF Transfers
Not all films and powders are created equal. The quality of your DTF transfers depends heavily on the supplies you use. Here's what to look for:
- Film: Opt for double-sided matte film for better ink adhesion. Single-sided film can work but may curl during printing.
- Ink: Use DTF-specific pigment inks. Regular inks won't withstand the powdering and curing process.
- Powder: Fine-grain TPU powder is ideal. It melts evenly and creates a flexible bond.
- Fabric: While DTF works on many fabrics, pre-washing is recommended to remove sizing that can hinder adhesion.
Investing in quality supplies saves you time and frustration. I learned this the hard way when I tried to cut costs with cheap film; the prints cracked after a few washes.
Common Challenges and How to Overcome Them
Even with the best materials, issues can arise. Here are some frequent problems and their solutions:
Prints Peeling After Washing
This usually means the transfer wasn't pressed long enough or the pressure was too low. Increase your press time to 20 seconds and ensure even pressure. Also, wait 24 hours before washing the garment.
Colors Look Dull
Dull colors often result from insufficient white ink or under-curing. Check your printer's white ink density and make sure the powder is fully melted. Sometimes, the film's matte side is facing the wrong way; always print on the coated side.
Film Sticking to the Press
Use a Teflon sheet or parchment paper between the transfer and the heat platen. This prevents the film from melting onto the press.
Tips for Vibrant and Durable DTF Transfers
After countless trials in my shop, I've picked up a few tricks that consistently yield professional results:
- Pre-press your garment: This removes moisture and wrinkles, ensuring a smooth surface for adhesion.
- Use a heat press, not an iron: Irons don't provide consistent pressure or temperature, leading to uneven results.
- Test your settings: Every fabric behaves differently. Press a small test transfer on a scrap piece before committing to the final product.
- Store transfers properly: Keep unused transfers in a cool, dry place away from direct sunlight. They can last for months if stored correctly.
- Wash inside out: Advise your customers to turn garments inside out and wash in cold water. This extends the life of the print.
Frequently Asked Questions About DTF Transfers
Can I use DTF transfers on dark colors?
Absolutely! One of the biggest advantages of DTF transfers is that they include a white ink base, which makes colors pop on dark fabrics. Just ensure your printer is set to print the white layer.
How long do DTF transfers last?
With proper application and care, DTF prints can last as long as the garment. They withstand dozens of washes without fading or cracking. I've had shirts with DTF prints that are still going strong after two years.
Do I need a special printer for DTF?
Yes, you need a DTF printer that uses pigment inks and supports film. However, you can also buy pre-printed transfers from suppliers if you don't want to invest in a printer. Many small businesses start by outsourcing the printing and focusing on pressing.
What fabrics work best with DTF transfers?
DTF works on almost any fabric, including cotton, polyester, blends, and even leather. It's not recommended for fabrics with a heavy waterproof coating, as the adhesive may not bond properly.
Can I stretch DTF prints?
Yes, DTF transfers are flexible and can stretch with the fabric without cracking, provided they are applied correctly. This makes them ideal for athletic wear and stretchy materials.
With these insights, you're ready to dive into the world of DTF transfers. Whether you're a hobbyist or a business owner, mastering this technique opens up a world of possibilities for custom apparel. Remember, practice makes perfect, so don't be afraid to experiment and learn from each project.