
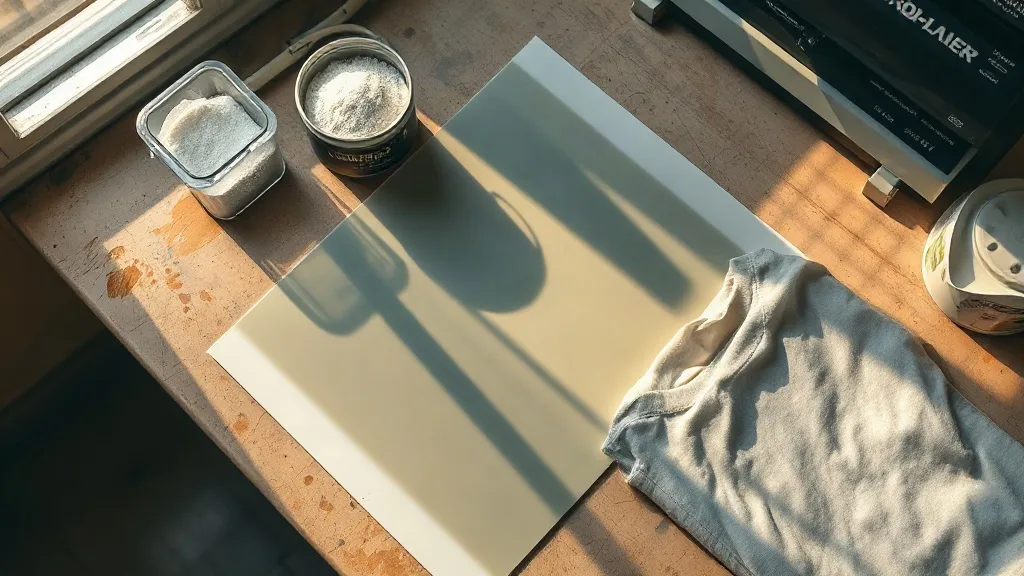
Most people who buy a DTF printer expect the hard part to be over once the box arrives. In reality, the printer is the simplest piece of the puzzle. The variables that decide whether a dtf transfers workflow earns money or quietly drains it are far less glamorous: how you build the file, how evenly the powder sticks, how you store the sheets, and whether your price per print actually covers the film you throw away. This guide walks through the parts of the process that shop owners tend to learn the hard way, usually after a few hundred wasted sheets.
What Actually Happens Inside a DTF Print
A DTF print is a mirror-image design printed in reverse onto a coated PET film, dusted with hot-melt adhesive powder while the ink is still wet, cured until the powder melts into a flexible layer, and then pressed onto fabric at high temperature. The adhesive layer is what makes the whole thing work. Without it, the ink would simply sit on top of the garment and peel off in the first wash.
That is also why DTF behaves so differently from vinyl or screen printing. The ink does not need a specially treated garment surface, which means you can press onto cotton, polyester, blends, canvas, and even some nylon bags without changing your setup. For a small shop that cannot stock five different garment types, that versatility is the entire appeal.
The Three Layers You Are Really Building
Every sheet you produce is a stack of three things: the film carrier, the ink image, and the adhesive. Problems almost always trace back to one of those layers. Peeling after washing points to the adhesive. Cracking in the design points to over-stretching after the press. Dull or faded color usually comes from the ink layer not getting enough time or temperature. Once you start diagnosing in layers instead of guessing at the whole process, troubleshooting gets dramatically faster.
File Preparation Decides Your Waste Rate
The single biggest lever on material cost is not the printer settings. It is how you lay out the file before it ever reaches the RIP software.
- Mirror the artwork, but confirm the setting rather than assuming the RIP does it automatically.
- Set a white underbase layer separately from the color layer, and check it in a preview rather than trusting the thumbnail.
- Gang small designs tightly, but leave enough bleed that trimming does not clip the edges.
- Keep a consistent margin so your cutter or trimmer has something to register against.
A shop that gangs efficiently can often cut film consumption by a noticeable margin compared to one that prints one design per sheet. Over a month, that difference shows up directly in your cost per unit, and it is one of the few savings you can capture without buying anything new.
Powder and Curing: Where Most Beginners Struggle
Shaking powder onto a wet print looks simple and rarely is. Too little powder and you get patchy adhesion, especially around fine details and thin lines. Too much and you get a stiff, rubbery feel plus a rough texture that customers notice immediately on a T-shirt.
The practical technique is to shake generously, then tip the sheet and let the excess fall back into the container, tapping the back of the film gently so loose powder drops away. Shake the container itself regularly, because fine and coarse particles separate over time and the bottom of the tub behaves differently from the top.
Curing Without Guesswork
Curing is where a lot of people improvise with a heat gun and regret it. The powder needs to melt into a continuous, slightly glossy film. If it still looks matte and grainy, it has not fully melted. If it looks glossy but the sheet curls hard, you are likely overheating and stressing the film.
A dedicated curing oven gives you repeatable results, but plenty of small operations start with a carefully controlled heat press or a modified oven and get acceptable output. Whatever you use, cure in a ventilated space and keep an eye on humidity. Damp powder clumps, and clumped powder produces uneven adhesive that fails in the wash rather than on the press, which makes the failure much harder to trace.
Pressing Settings That Hold Up After Washing
Press temperature, pressure, and time all interact, so treat any published number as a starting point rather than gospel. A reasonable baseline for most garments is a hot press in the range that activates the adhesive, with a firm but not crushing pressure, followed by a cold peel. Peeling cold is important. Peeling while the sheet is still hot can stretch the design and leave a distorted edge that no amount of re-pressing will fix.
After peeling, a short second press under a cover sheet smooths the print into the fabric and improves wash durability. Many shops skip this step and then wonder why prints feel slightly raised. The second press takes seconds and it is the difference between a print that feels integrated and one that feels applied.
Testing Before You Sell
Before committing a new garment or a new film brand to production, run a wash test. Print a small sample, press it, wait the recommended time, then wash and dry it a few times. Note whether the edges lift, whether the color dulls, and how the print feels. This costs you one shirt and one afternoon, and it prevents the far more expensive scenario of a customer returning an order because the design cracked after the first wash.
Pricing So the Numbers Actually Work
It is easy to price a dtf print by looking at what competitors charge and matching it. That approach ignores your real cost structure. Your cost per print includes film, ink, powder, the share of wasted sheets, labor for weeding and trimming, and the electricity running the printer and oven.
A more honest method is to track a full roll of film from unopened to finished. Count how many sellable prints you got, not how many you attempted. Divide total material spend by sellable units, then add labor and a margin. Shops that do this exercise often discover their effective cost per print is meaningfully higher than they assumed, which explains why volume alone was not translating into profit.
When Custom Work Makes More Sense
Not every job belongs on DTF. Large solid blocks of white ink use a lot of material and can feel heavy on lightweight fabrics. For those, screen printing or a different decoration method may serve the customer better. Knowing when to say so builds trust, and a customer who gets the right method for their garment tends to come back for the next order.
Storage and the Shelf Life Nobody Warns You About
Cured transfers do not last forever. Adhesive picks up moisture and dust, and film can warp or stick to itself if sheets are stacked under weight in a warm room. Store finished transfers flat, in a sealed bag or container, away from direct heat and sunlight, and label them with the date they were cured.
Rotate stock oldest first. A transfer that has been sitting open for months may still press, but adhesion becomes less predictable, and unpredictable adhesion is how you end up redoing an order you already delivered. If you keep a small inventory for popular designs, a simple date label solves most of this.
Finding a Supplier You Can Rely On
If you are searching for dtf transfers near me because you would rather buy finished transfers than run your own printer, the questions to ask are straightforward. What film and powder do they use? How fresh is their stock? Can they turn around a rush order, and what does a reprint look like when something goes wrong?
A supplier who answers those questions clearly is worth more than one who is slightly cheaper. Consistency matters more than price when your own reputation is riding on their adhesive layer. Ask for a sample before placing a large order, press it on the exact garment you plan to sell, and wash it. If the sample holds up, the relationship is worth building.
Common Questions From Shop Owners
How long do DTF transfers last on a shirt?
With correct pressing and normal washing, a well-made transfer typically holds up for many wash cycles, often comparable to screen print durability. Longevity depends heavily on the adhesive layer being fully cured and on the garment being washed inside out in cooler water. Hot washes and high dryer heat shorten the life of any print.
Can I press DTF onto polyester without scorching it?
Yes, but polyester needs more care than cotton because it is sensitive to heat. Lower the press temperature and extend the time slightly, and always use a cover sheet. Test on an inconspicuous area first, since some polyester blends show press marks more readily than others.
Why is my transfer cracking after a few washes?
Cracking usually points to under-curing the powder, insufficient pressure during the press, or stretching the print while it was still hot. It can also come from washing the garment in hot water or drying it on high heat. Check your cure first, then your press pressure, then your wash instructions.
Is it cheaper to buy finished transfers or print my own?
It depends on volume and how much of your time is worth. At low volume, buying finished transfers avoids equipment cost and maintenance. At steady volume, printing in-house usually wins on cost per unit, provided you control waste and keep the printer maintained. Run the numbers on your own sellable output before deciding.
Do I need special garments for DTF?
No. That is one of the main advantages of the method. Cotton, polyester, blends, and many canvas or nylon items all accept DTF without pre-treatment, which is why it suits shops that handle mixed orders and cannot keep a separate stock of coated shirts.