
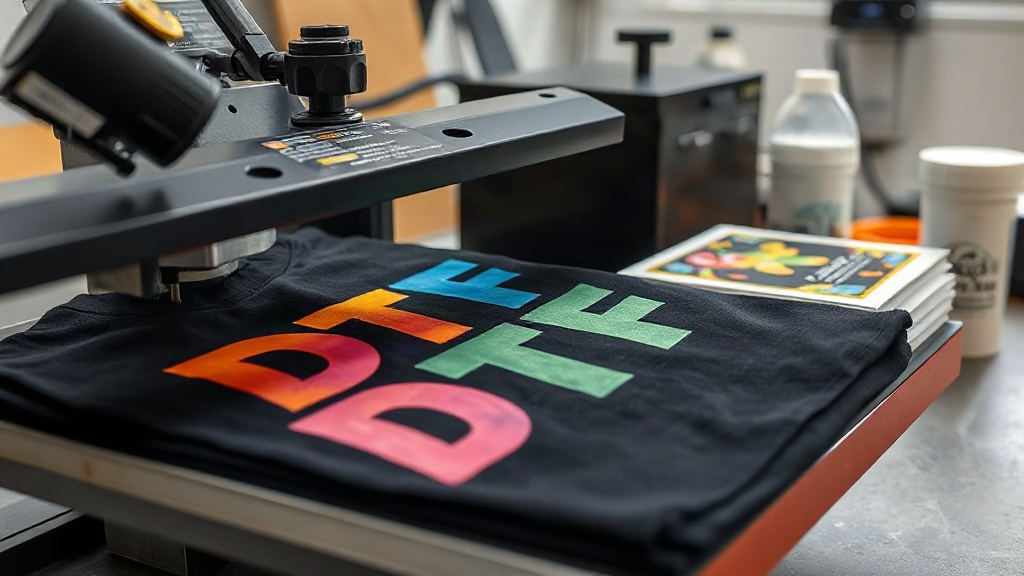
If you've been exploring custom apparel, you've likely come across DTF transfer printing. Short for Direct-to-Film, this technology has quickly become a favorite for creating vibrant, detailed designs on a wide range of fabrics. Unlike traditional methods that require specific materials or minimum orders, DTF offers flexibility and quality that's hard to beat. In this guide, we'll walk you through everything you need to know about DTF printing, from the basics to pro tips, so you can decide if it's right for your next project.
What Is DTF Transfer Printing?
DTF stands for Direct-to-Film. It's a printing method where your design is printed onto a special film, coated with a hot-melt adhesive powder, and then transferred onto fabric using a heat press. The result is a soft, stretchable, and durable print that adheres well to cotton, polyester, blends, and even some non-fabric materials like leather. Because the design is printed on film first, DTF doesn't require pre-treatment or special coatings on the garment, making it more versatile than DTG (Direct-to-Garment) or screen printing.
How DTF Printing Works: Step by Step
Understanding the process helps you appreciate the results. Here's a breakdown of the DTF workflow:
- Design Preparation: Create or upload your artwork in a vector or high-resolution raster format. The design is typically mirrored before printing so it reads correctly after transfer.
- Printing: A specialized DTF printer lays down CMYK inks and white ink onto a PET film. The white ink acts as a base, allowing the colors to pop on both light and dark fabrics.
- Powdering: While the ink is still wet, a hot-melt adhesive powder is applied evenly over the print. Excess powder is shaken off.
- Curing: The film goes through a curing oven or heat press to melt the powder, creating a dry, tacky surface.
- Transfer: The film is placed on the garment and pressed with a heat press at specific temperature, pressure, and time (usually around 160°C for 15 seconds).
- Peeling: After pressing, the film is peeled off (hot or cold peel depending on the film), leaving the design bonded to the fabric.
Why Choose DTF? Key Benefits
There are plenty of reasons DTF has gained traction among hobbyists and professionals alike. Here are the standout advantages:
- No Weeding or Cutting: Unlike vinyl, there's no tedious weeding. You print, powder, and press.
- Works on Many Fabrics: Cotton, polyester, blends, nylon, leather, and more. No need for multiple techniques.
- Vibrant Colors on Dark Garments: The white ink base ensures colors remain bright on black or dark shirts.
- Soft Hand Feel: Modern DTF films and powders produce a flexible, lightweight print that doesn't crack or peel easily.
- Cost-Effective for Small Runs: No minimum order quantities, ideal for one-offs or small batches.
- Durability: When applied correctly, DTF prints withstand dozens of washes without fading.
DTF vs. Other Printing Methods
How does DTF stack up against DTG, screen printing, and vinyl? Let's compare:
DTF vs. DTG
DTG prints directly onto the garment and works best on 100% cotton. It requires pre-treatment, and colors may appear muted on dark shirts. DTF, on the other hand, can be used on nearly any fabric and produces brighter colors on darks. DTF also tends to be more durable for stretchy fabrics.
DTF vs. Screen Printing
Screen printing is cost-effective for large orders but requires setup and minimum quantities. DTF shines for small batches and detailed designs with gradients. However, for very large runs, screen printing may be more economical.
DTF vs. Heat Transfer Vinyl (HTV)
HTV requires cutting and weeding, which is time-consuming for complex designs. DTF eliminates that, and it can reproduce photographic images with ease. HTV is great for simple text or single-color logos, while DTF excels for multicolor, intricate artwork.
Materials and Equipment You'll Need
Getting started with DTF requires some initial investment. Here's what you'll need:
- DTF Printer: A dedicated printer that uses DTF inks (CMYK + white). Brands like Epson with DTF conversions are popular.
- DTF Film: PET film sheets or rolls, usually 75-100 microns thick.
- Hot-Melt Powder: TPU-based adhesive powder, available in fine or medium grades.
- Curing Oven or Heat Press: To melt the powder. A heat press can double for both curing and transferring.
- Heat Press: For transferring the design onto garments. A clamshell or swing-away press works well.
- Design Software: Any graphic design tool like Adobe Illustrator, Photoshop, or free alternatives like Inkscape or GIMP.
Step-by-Step DTF Application on a T-Shirt
Let's walk through applying a DTF transfer to a t-shirt. This is the process you'll repeat for any garment.
1. Prepare Your Design
Create your artwork and mirror it horizontally. Print it onto DTF film using your printer. Ensure the white ink layer is properly configured.
2. Apply Powder
While the ink is wet, sprinkle hot-melt powder over the print. Gently shake off excess. You want an even coating without clumps.
3. Cure the Powder
Place the film in a curing oven at around 160°C for 2-3 minutes, or use a heat press with light pressure for about 30 seconds. The powder should melt and become glossy.
4. Preheat the Garment
Preheat your heat press to 160°C. Pre-press the shirt for 5 seconds to remove moisture and wrinkles.
5. Position and Press
Place the DTF film on the shirt with the design facing up (adhesive side down). Press for 15 seconds with medium pressure.
6. Peel and Finish
Peel the film off while hot (hot peel) or after it cools (cold peel), depending on the film instructions. For extra durability, press again for 5 seconds with a Teflon sheet.
Common Mistakes and How to Avoid Them
Even seasoned crafters run into issues. Here are pitfalls to watch for:
- Insufficient Powder: Too little powder leads to poor adhesion. Make sure the ink is fully covered.
- Over-Curing: Burning the powder can cause cracking. Follow temperature guidelines.
- Wrong Pressure: Too much pressure can flatten the print; too little causes incomplete transfer.
- Peeling Too Soon or Too Late: Always check if your film is hot or cold peel.
- Stretching the Film: Handle film carefully to avoid distortion.
Tips for Best Results
To get professional-looking DTF prints every time, keep these tips in mind:
- Use high-quality DTF film and powder from reputable suppliers.
- Maintain your printer regularly to avoid clogged nozzles.
- Store film and powder in a cool, dry place.
- Test on scrap fabric before pressing onto a final garment.
- Wash garments inside out in cold water and avoid ironing directly on the print.
Frequently Asked Questions About DTF Printing
How long do DTF prints last?
With proper application and care, DTF prints can last 50+ washes without significant fading or cracking. Following wash instructions is key.
Can I use DTF on 100% polyester?
Yes, DTF works well on polyester, though you may need to adjust temperature and pressure to avoid scorching. Always test first.
Do I need a special printer for DTF?
You can convert certain inkjet printers to use DTF inks, but dedicated DTF printers are recommended for consistent results and less maintenance.
Is DTF printing cost-effective for small businesses?
Absolutely. With no minimum orders and low setup costs, DTF is ideal for small businesses, crafters, and startups looking to offer custom apparel.
What's the difference between hot peel and cold peel DTF film?
Hot peel film is removed immediately after pressing while still hot, giving a slightly glossier finish. Cold peel film is allowed to cool before peeling, often resulting in a softer feel. Choose based on your preference and film specifications.
DTF transfer printing opens up a world of possibilities for customizing apparel and more. Whether you're a hobbyist or a business owner, understanding the process and best practices will help you achieve stunning, long-lasting results. So why not give it a try? Your next custom creation could be just a press away.