
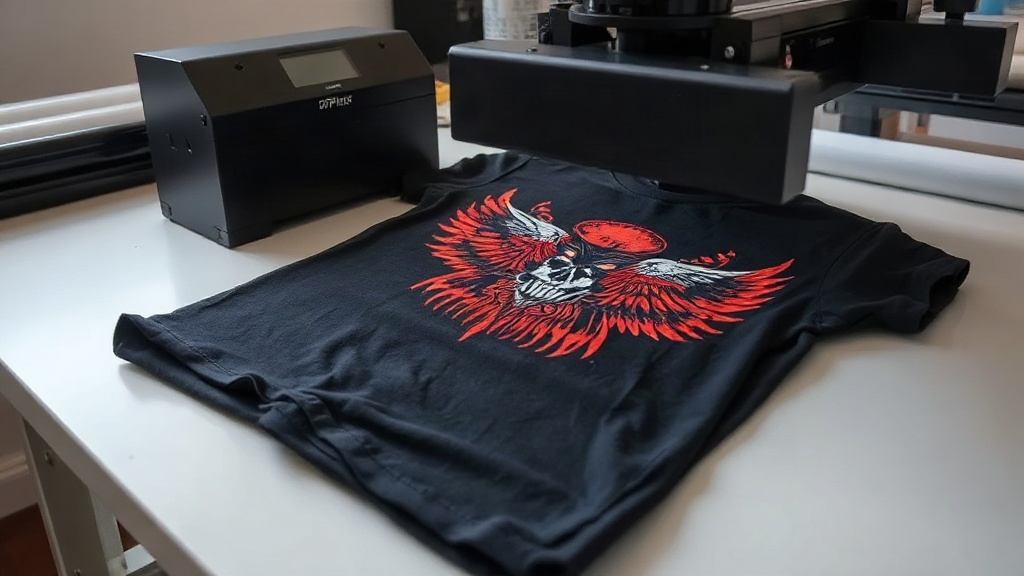
When you want to create custom apparel that stands out, the printing method you choose makes all the difference. Among the many options available, DTF transfers have quickly become a favorite for both hobbyists and professionals. Whether you're making t-shirts for a family reunion or starting a clothing brand, understanding DTF transfers can open up a world of creative possibilities. In this guide, we'll walk you through everything you need to know about DTF transfers, from the basics to advanced tips, so you can achieve professional-looking results right from your home studio.
What Are DTF Transfers?
DTF stands for Direct to Film. It's a printing technology where your design is printed onto a special film, coated with a powder adhesive, and then heat-pressed onto fabric. Unlike DTG (Direct to Garment) or screen printing, DTF transfers don't require pre-treatment of the fabric, and they work on a wide range of materials, including cotton, polyester, blends, and even nylon. This versatility makes DTF transfers an excellent choice for anyone looking to print on diverse garments without investing in multiple setups.
How DTF Transfers Work: Step by Step
Understanding the process helps you troubleshoot and perfect your technique. Here's a breakdown of the DTF transfer workflow:
- Design Preparation: Create your artwork in a graphic design software. Remember to mirror the image horizontally because the film will be flipped when pressed.
- Printing: Using a DTF printer, print your design onto a special PET film with water-based inks. The printer lays down a white ink base followed by CMYK colors.
- Powder Application: While the ink is still wet, apply a hot-melt adhesive powder evenly over the printed area. Shake off the excess.
- Curing: Place the film in a curing oven or under a heat press to melt the powder. This step is crucial for durability.
- Transfer: Once cured, your transfer is ready. You can store it for later or press it onto your garment immediately.
Why Choose DTF Transfers for Your Custom Apparel?
There are several compelling reasons why DTF transfers have gained popularity:
- Fabric Versatility: Works on cotton, polyester, blends, leather, and more.
- No Pre-Treatment: Saves time and avoids chemicals.
- Vibrant Colors: Produces bright, detailed prints with fine lines and gradients.
- Durability: When applied correctly, DTF prints withstand repeated washing without cracking or fading.
- Cost-Effective for Small Runs: No minimum order quantities, ideal for one-off designs.
DTF vs. Other Printing Methods
How do DTF transfers stack up against other common printing techniques? Let's compare:
DTF vs. DTG
DTG prints directly onto the garment, often requiring pre-treatment and works best on 100% cotton. DTF, on the other hand, can be used on almost any fabric and doesn't need pre-treatment. DTF also tends to have more vibrant colors on dark garments because of the white ink base.
DTF vs. Screen Printing
Screen printing is cost-effective for large orders but requires separate screens for each color, making small runs expensive. DTF transfers are perfect for small batches and complex designs with many colors, as there's no setup cost per color.
DTF vs. Vinyl
Heat transfer vinyl (HTV) is great for simple, single-color designs but struggles with intricate details and gradients. DTF transfers excel at full-color, photographic-quality images.
Choosing the Right DTF Transfer Supplies
To get started with DTF transfers, you'll need the right supplies. Here's what to look for:
- DTF Printer: Models like the Epson F2100 or converted Epson EcoTank printers are popular. Ensure it uses DTF ink.
- DTF Film: Available in sheets or rolls. Cold-peel film is common, but hot-peel options exist.
- Adhesive Powder: Typically TPU-based. Fine powder works best for detailed designs.
- Heat Press: A reliable heat press with accurate temperature and pressure control is essential.
- Curing Oven: Optional but recommended for consistent curing of powder.
How to Apply DTF Transfers Perfectly
Applying a DTF transfer is straightforward, but following the right steps ensures a long-lasting result:
- Preheat the Garment: This removes moisture and wrinkles. Press for 5-10 seconds.
- Position the Transfer: Place the film on the garment with the design facing up (unless using a cold-peel film, then follow manufacturer instructions).
- Press: Use medium pressure at 325°F (160°C) for 15-20 seconds. (Check your transfer supplier's recommendations.)
- Peel: For cold-peel, wait until the film cools completely before peeling. For hot-peel, peel immediately.
- Post-Press (Optional): For extra durability, cover with parchment paper and press again for 5-10 seconds.
Common Mistakes to Avoid with DTF Transfers
Even experienced crafters make mistakes. Here are pitfalls to watch out for:
- Insufficient Powder: Too little powder leads to poor adhesion. Ensure even coverage.
- Under-Curing: If the powder isn't fully melted, the transfer won't bond properly.
- Wrong Pressure: Too much pressure can cause ink to spread; too little results in poor adhesion.
- Peeling Too Early: Always follow the film's peel instructions (hot vs. cold).
- Ignoring Fabric Type: Some fabrics like nylon require lower temperatures. Always test.
Tips for Vibrant and Durable DTF Prints
To get the best results from your DTF transfers, consider these tips:
- Use high-quality DTF ink and film from reputable suppliers.
- Maintain your printer regularly to avoid clogged nozzles.
- Store unused transfers in a cool, dry place away from direct sunlight.
- Wash garments inside out in cold water and avoid fabric softeners to prolong print life.
- For stretchy fabrics, use a stretchable DTF powder or add a slight stretch to the garment before pressing.
Frequently Asked Questions About DTF Transfers
How long do DTF transfers last?
When applied correctly and cared for properly, DTF transfers can last as long as the garment itself, often 50+ washes without significant fading or cracking.
Can I use DTF transfers on dark colors?
Absolutely! DTF transfers include a white ink base, so they show up vividly on both light and dark fabrics. This is one of their biggest advantages over DTG.
Do I need a special printer for DTF transfers?
Yes, you need a DTF printer that uses DTF inks and can print white ink. However, you can convert some Epson printers with DTF ink systems, which is a cost-effective option for beginners.
What fabrics work best with DTF transfers?
DTF transfers work on a wide range of fabrics, including cotton, polyester, blends, leather, and nylon. However, for best results, always test on a small area first, especially with heat-sensitive fabrics.
How do I store DTF transfers?
Store them flat in a cool, dry place, away from direct sunlight and moisture. Avoid folding them to prevent cracking the adhesive.
Final Thoughts
DTF transfers have revolutionized custom apparel printing by offering unmatched versatility, vibrant colors, and durability. Whether you're a small business owner, a craft enthusiast, or someone looking to create personalized gifts, mastering DTF transfers can elevate your projects. With the right supplies and a bit of practice, you'll be producing professional-quality prints in no time. So go ahead, unleash your creativity, and let your designs shine with DTF transfers.